
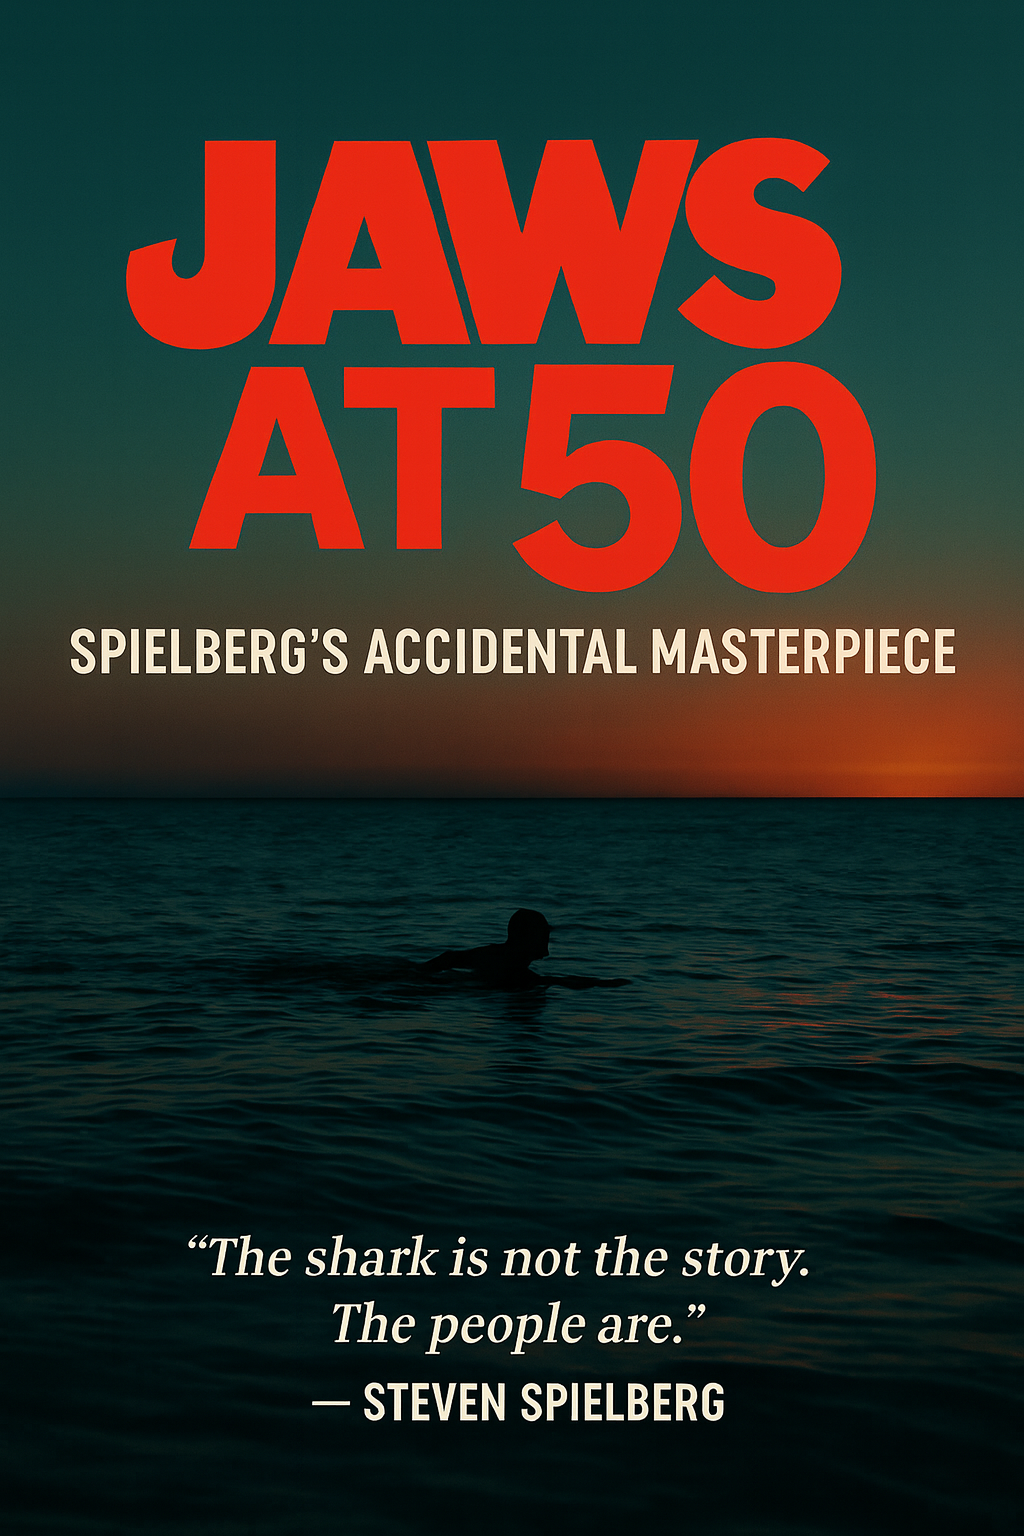
Jaws at 50
Anatomy of Suspense for Beginner Filmmakers
“Emotion, at the top of the list, is the thing that you should try to preserve at all costs.” Walter Murch, Editor
This mini-unit celebrates 50 years of Jaws (1975) and uses it as our first real filmmaking teacher. Spielberg’s mechanical shark failed during production, so he (with plenty of help from his core production team) built suspense through sound, reaction shots, and what he chose not to show. That is why this lesson is perfect for beginners. We do not need fancy equipment. We need smart choices. By the end of this cycle, we will understand how suspense works and we will prove it by creating our own short suspense sequences using only our phones.
Cycle Overview
Before this cycle begins, students watch Jaws (1975) at home.
In class, we analyse two iconic scenes and learn essential film vocabulary. Then we move from analysis to action. Students create their own short suspense sequence using only a phone, everyday spaces, and offscreen sound.
The purpose of this cycle is simple: to show that filmmaking is about choices, not resources. It works especially well early in the semester when students are still discovering what filmmaking really means.
Core Components
This unit focuses on how suspense is constructed.
Students explore:
How sound and silence create tension;
How offscreen space allows the audience to imagine danger;
How reaction shots transfer fear to the viewer;
How camera distance and angle influence emotion;
How filming in real locations increases both authenticity and difficulty;
Beginner vocabulary includes:
Shot, cut, close-up, wide shot, long shot, medium shot, extreme low angle, dutch angle, point of view, reaction shot.
Students begin naming shots accurately from the start so film language becomes natural.
Assessment Focus
This mini-unit prioritises experimentation and confidence.
Students will:
Identify one suspense technique used in Jaws (1975);
Plan and shoot a short suspense sequence in pairs or trios;
Reflect verbally on their creative choices;
Mini-rubric for the suspense scene, 10 points
Clarity of idea, 0–2
Use of offscreen sound or audio cue, 0–2
Shot choices that hide the threat, 0–2
A readable reaction shot, 0–2
Overall tension and timing, 0–2
OBS: This rubric can be used for feedback or optional grading. It may also function purely as a guide to help students understand what makes suspense effective.
Classroom Activities
Lesson One – What Makes a Scene Scary?
We begin with a simple question: what makes a scene scary?
Students share one honest word about how Jaws made them feel. These reactions are written on the board to show that all responses are valid.
We analyse these two key clips:
The Opening Attack
Chrissie swims alone at night. The shark is never shown. Students notice splashes, silence, point of view, and performance.
Brody on the Beach
We examine blocking, cutting rhythm, background movement, and the famous dolly zoom.
In small groups, students answer three questions:
What did you hear?
What did you see?
What did you not see?
We build shared vocabulary and conclude with a short exit slip: name one suspense technique you want to try yourself.
Lesson Two – Lab - Let’s Build Suspense Like Spielberg
Now students create suspense.
Working in pairs or trios, they plan and shoot a sequence that is three or four shots long. The full sequence cannot exceed 90 seconds.
Rules:
No dialogue
No visible monster
No special effects
Each sequence must include:
At least one clear reaction shot
At least one sound cue
Students may film in hallways, stairwells, or empty classrooms as long as they are respectful and safe.
Shots must be filmed in order so editing is not required. Files are uploaded to a shared folder and labelled:
shot 1
shot 2
shot 3 and so on…
Ask students to setup the phone accordingly:
Landscape format only
Gridlines activated
Resolution set to 1080p
Frame rate set to 30fps
Film in landscape format only. Cinema screens are horizontal. Shooting vertically makes your frame feel limited and distracts from composition. Landscape framing immediately gives your work a more cinematic feel and allows you to control space more intentionally.
Turn on the gridlines in your camera settings. The grid helps you compose your shots more carefully. It allows you to align horizons, center reaction shots when needed, or deliberately place subjects off-center using the rule of thirds. Good suspense often depends on where you place the character in the frame.
Set your resolution to 1080p and your frame rate to 30 frames per second. For this beginner lab, we are not shooting in 4K because larger files take longer to upload and slow down the workflow. 1080p provides strong image quality while keeping file sizes manageable and uploads fast to Google Drive. A frame rate of 30fps keeps movement smooth and ensures consistency across the class.
This choice is practical for now. Later in the semester, we can explore how shooting in 4K can be beneficial for post-production, especially when cropping, stabilising, or reframing shots in editing. For this exercise, however, the focus is on suspense and storytelling, not heavy post-production work.
These settings help us stay efficient and disciplined while keeping the creative process at the center.
Note: Students may use AI tools to quickly learn how to adjust these settings on their device.
Lesson Three – Watching and Reflecting
We screen each group’s suspense sequence. Raw footage is acceptable.
Feedback uses three structured prompts:
“I liked how you made it scary when…”
“I was confused when…”
“Maybe next time try…”
Reflection is verbal. Each student shares:
One thing learned from Spielberg
One thing learned from making their own scene
We end by reinforcing that filmmaking is about deliberate decisions, not expensive equipment.
Sample Lab
One excellent example of this activity. In bold elements of the lab and film vocabulary.
Shot 1: We establish the protagonist’s action with a very simple soundtrack (someone in the group played a little piano). The protagonist enters a recording studio, clearly worried about something. By the end of the shot we notice a slight dutch angle, and then the protagonist relaxes when it seems safe. They used their smartphone’s Action Mode to keep the camera movement smooth.
Shot 2: Through heavy breathing and blocking, we understand this is the creature’s point of view, stalking from outside the recording room.
Shot 3: The suspense builds. We now get a dutch angle from the protagonist’s point of view as the door handle is forced open.
Shot 4: A high angle makes the protagonist feel small and oppressed as they walk backwards. The tempo of the soundtrack speeds up, and we can clearly see fear in the protagonist’s eyes.
Reflection and Growth
Where did you place the camera to hide information?
How did sound change the emotional impact of your scene?
Did hiding the threat increase tension?
If you added one more shot, what would it be and why?
Students begin to understand that less can be more.

Connections to IB Final Assessments
Textual analysis (SL and HL)
This mini-unit trains the exact habits students need for the Textual analysis, which is a written analysis of how meaning is constructed in a chosen extract from a prescribed film text, with attention to film elements and cultural context. In Lesson One, students practise describing what they hear, see, and do not see, then naming choices using basic shot vocabulary and linking those choices to audience effect. That becomes the foundation for later written analysis, when they must explain how cinematography, editing, sound, and performance create meaning. It’s the first opportunity to start introducing to the proxemics and compositions vocabulary.
Comparative study (SL and HL)
The Comparative study asks students to research a chosen area of film focus and compare two films within that area in a recorded multimedia format. This Jaws (1975) unit can act as an early “anchor text” that gives students a shared reference point for suspense conventions and for discussing how film choices shape genre experience. Later, when students explore other films and cultural contexts, they can return to concepts introduced here like offscreen space, reaction shots, and sound motifs as comparison tools, without claiming that this unit itself is the Comparative study.
Film Portfolio (SL and HL)
This exercise is not intended for the final Film Portfolio reel. Instead, it functions as an early rehearsal space where students begin to understand the five core production roles used in IB Film: director, screenwriter, cinematographer, editor, and sound designer. The key mindset to introduce here is artistic intention. Students should be encouraged to articulate what they are trying to make the audience feel, and then make choices that serve that goal.
Even though the sequence is short and unedited, students naturally begin to think in terms of roles. The director focuses on performance and tension. The cinematographer controls framing, angle, and what is withheld. The sound designer shapes offscreen audio and atmosphere. The screenwriter clarifies the situation and the reveal. The editor, even without software, still influences meaning through sequencing and timing. This is a low-stakes way to practise role-based decision-making while repeatedly asking the most important question: what is our intention, and how do our choices support it?
Collaborative film project (HL only)
The Collaborative Film Project requires HL students to work within a defined core production team, each student taking on one of the five key roles. This mini-unit prepares students for that structure by making collaboration visible early. It also reinforces artistic intention as a shared responsibility. Even in a quick two- or three-shot exercise, teams must agree on what emotion they want to create, then coordinate role decisions so the scene feels coherent.
Students learn that suspense depends on alignment across roles. Performance direction, framing, sound placement, and timing all influence one another. The goal is not a polished film, but early training in how a production team communicates intentions and translates them into clear choices
Further Reading (IB Focused)
Craft and production (how it was made)
American Cinematographer (The ASC) – “On Location with Jaws” (2020)
https://theasc.com/articles/on-location-with-jaws
Best for: Film Portfolio (production choices), Textual Analysis (cinematography and staging), Comparative Study (industry conditions and production context).
Why it helps: It gives concrete production realities (shooting at sea, logistics, technical constraints) that explain why certain formal choices in Jaws (1975) look and feel the way they do.
Classroom use idea: Ask students to pick one constraint from the article (weather, equipment, location, continuity) and explain how a director/cinematographer could turn that constraint into a suspense advantage.
Archival and primary materials (objects, documents, institutional context)
Oscars (Academy of Motion Picture Arts and Sciences) – “Collection Highlights: Jaws”
https://www.oscars.org/collection-highlights/jaws
Best for: Film Portfolio (evidence of process), Comparative Study (institutional framing of legacy), Textual Analysis (linking formal choices to intention).
Why it helps: It’s a credible institutional source that connects artifacts and production decisions to the film’s long-term impact. It’s also good “source hygiene” for student research.
Classroom use idea: Students choose one artifact/photo/detail and write a short annotation: what it suggests about creative intention, what it suggests about production constraints, and how that might show up on screen.
Anniversary reporting (recent, credible journalism)
The Guardian – “Steven Spielberg reflects on Jaws at 50: ‘I thought my career was over’” (12 Sep 2025)
https://www.theguardian.com/film/2025/sep/12/steven-spielberg-jaws-film-50
Best for: Comparative Study (reception and legacy), Film Portfolio (director intention in hindsight), Textual Analysis (context for suspense strategies).
Why it helps: It provides clear, readable context about stakes, setbacks, and the production story, which students can use as secondary research when discussing intent and impact.
Classroom use idea: Students pull one short detail from the interview/reporting and connect it to one moment in the film (for example: “because X happened during production, the film uses Y strategy”).AP News – “‘Jaws’ exhibit at the Academy Museum…” (12 Sep 2025)
https://apnews.com/article/jaws-spielberg-academy-museum-exhibit-631dc9fb5a88e8e9ec6936148f4cff81
Best for: Comparative Study (cultural legacy), Film Portfolio (production history research), Textual Analysis (supporting context for technique decisions).
Why it helps: Straight reporting, easy for students to cite responsibly, and useful for connecting Jaws (1975) to museums, preservation, and how film history gets curated.
Classroom use idea: “Museum label” task: students write a 70–90 word label for a Jaws (1975) artifact that explains how it links to suspense in the finished film.
Academic reading (scholarship)
Bloomsbury Academic – The Jaws Book: New Perspectives on the Classic Summer Blockbuster (2020)
https://www.bloomsbury.com/uk/jaws-book-9781501347542/
Best for: Comparative Study (academic perspectives on blockbuster cinema), Textual Analysis (music/editing/reception frameworks), Film Portfolio (research credibility and formal writing).
Why it helps: It’s an edited academic collection, so it models scholarly approaches students can imitate: making claims, supporting them with evidence, and situating a film in wider cinema history and theory.
Classroom use idea: Give students a chapter topic (music, editing, reception, genre) and ask them to write a short “academic-style” paragraph about one scene in Jaws (1975) using that lens.
Optional open-access academic chapter (PDF)
Sheldon Hall (2020) – “Not the first: myths of Jaws” (Sheffield Hallam University Research Archive)
https://shura.shu.ac.uk/28443/1/Not%20the%20First%20-%20Myths%20of%20Jaws%20%28final%29.pdf
Best for: Comparative Study (challenging simplified narratives), Film Portfolio (research precision), Textual Analysis (historical framing without clichés).
Why it helps: It helps students avoid overclaimed statements like “first blockbuster” by showing how scholars test myths with evidence. That’s exactly the habit IB rewards in higher-level research writing.
Classroom use idea: “Myth-busting” mini-task: students list three common claims about Jaws (1975) and rewrite them into careful, evidence-based statements.
Recommended books on the making of Jaws (1975) (IB-friendly notes)
Carl Gottlieb – The Jaws Log (Expanded Edition)
https://www.harpercollins.com/products/the-jaws-log-carl-gottlieb
Best for: Film Portfolio (process evidence), Textual Analysis (intent shaped by constraints), Comparative Study (Hollywood production culture of the 1970s).
Why it helps: It’s a first-hand production account, so students can cite it as strong production context when explaining why the film uses specific suspense strategies.Edith Blake – On Location on Martha’s Vineyard: The Making of the Movie Jaws (50th Anniversary Edition)
https://www.waterstones.com/book/on-location-on-marthas-vineyard-the-making-of-the-movie-jaws-50th-anniversary-edition/edith-blake/9798887717609
Best for: Film Portfolio (practical production detail), Comparative Study (place and production history), Textual Analysis (how location affects mise-en-scène and staging).
Why it helps: It’s rich on location-specific detail, which helps students connect geography, logistics, and realism to on-screen choices.Matt Taylor – Jaws: Memories from Martha’s Vineyard (Revised & Updated Edition)
https://www.waterstones.com/book/jaws-memories-from-marthas-vineyard-revised-and-updated-edition/matt-taylor/steven-spielberg/9781835410370
Best for: Comparative Study (community impact and legacy), Film Portfolio (visual research and behind-the-scenes evidence), Textual Analysis (place, texture, realism).
Why it helps: It’s more photo-led and community-focused, which makes it great for students who learn visually and for discussions of film, place, and cultural memory.
Teacher's Notes
Lesson One works best when students first discuss in small groups before sharing with the whole class. Early in the semester, participation can be uneven. Smaller groups create comfort. Reinforce proxemics vocabulary consistently. Remind students that Jaws (1975) was filmed on location in Martha’s Vineyard, which added realism but also increased production challenges because the environment was not controlled.
Lesson Two should feel active and practical. No lighting kits, no microphones, no fancy setups. The difficulty of working in uncontrolled spaces is intentional. It mirrors real filmmaking constraints and pushes students to solve problems creatively. Ensure phone settings are correct before filming begins.
The mini-rubric may be used for grading or simply for feedback. If grading feels unnecessary, treat this as practice. The goal is confidence and clarity of choices.
Lesson Three should remain constructive and supportive. Focus feedback on decisions, not a polished outcome. Emphasise that Spielberg turned limitations into creativity. One of the key mentality we must have in filmmaking is problem solving. No matter how prepared you are to shoot your film, something will possibly go wrong. When this happens, its’s important as a team to think of alternatives like Spielberg thought when the mechanic shark did not work. Students can do the same.